
In Case You’re in the Mood to Bake a Pie!
When it comes to baking, I know that homemade pie crusts can be daunting. I fully understand why the ease of buying a ready made pie crust is appealing. But in my very personal opinion, there is simply no point in baking a pie if you’re not going to make the crust yourself. A pie is ALL about the crust. Otherwise, I suggest you make a fruit crumble or crisp. You still get the same filling and it will have a lovely topping. Or pour all that pumpkin or custard filling into a casserole and bake it as a pudding. Just leave out the crust if you don’t have the time or inclination to make one yourself.
Don’t waste your time with a store bought crust. I’ve read articles in which people say things such as, “My grandmother couldn’t even tell the difference between my store bought crust and her own homemade crust.” That is utter nonsense. I can spot a store bought crust from a mile away and it always makes me sad. The texture is nothing like a flaky homemade crust and the flavor isn’t anywhere near what it should be. If you’re going to make a pie, please make your crust yourself. It’s one of the most satisfying things I bake and it is not difficult. After you’ve done it a few times, you’ll see what I mean. It is worth every single minute you spend in the kitchen.
So, even though I’ve been baking pies for many years, I’ve spent the last 2 years trying out all sorts of recipes and have finally arrived at what I think is the simplest and best pie crust. After having said that, I need to qualify my statement. There are many pie crust recipes that will give you a good end result. Many. I oughta know because I’ve made a ton of them. But what I wanted was a recipe that didn’t require any prior knowledge of pastry making, that always turned out well, and required no guess work, etc. What I’ve done is taken what I think is the best parts of several recipes and arrived at this easy, but delicious recipe.
One criteria was a pie crust I could make when the urge struck. I don’t always plan ahead and have the time to let my disc of dough chill for a couple of hours or overnight. I want to mix it, roll it, and let it sit and chill in the fridge while I work on my filling, or while the oven heats up. When timing is an issue and I want to get ahead, I cover the chilled pie crust after it’s in the pan and let it sit overnight before proceeding with the rest of the recipe the next day. My pie crust recipe needed to be flexible.
Jacques Pepin’s recipe requires no prior chilling before rolling, as do several other recipes. So, I began with that premise and moved on from there. I like a little sugar in my crust, so I added a couple teaspoons and even though I always use salted butter, another 1/4 teaspoon salt is necessary. Taking a tip from Cheryl Day, I now add a half teaspoon of baking powder to my dough. It creates little puffy bubbles in the dough and contributes to even more crispness.
I’ve tried doughs using shortening, shortening and butter, and all butter. All butter is the only thing that gives me the flavor I want, so it’s always an all butter pie crust for me. Now comes the part that people find vexing. How much water to add? The bit about adding a little more if the dough “looks or feels” like it needs it works fine if you’ve got tons of experience, but most people haven’t made hundreds of pie crusts. For my recipe, I always use the exact same amount of ice water. No guessing involved.
The only time there is no precise measurement is when you flour your work surface. You simply use enough flour to keep the dough from sticking. Keep moving the dough around as you roll it out and if it starts to stick, sprinkle on a little more flour. I’ve made this pie crust in the humidity and heat of Florida and on cold and dry winter days in Pennsylvania. The only difference is that if you’re making this crust in hot weather, you just have to roll it out a little quicker than in cold temperatures. You still end up with the same result.

Here’s another conclusion I’ve made. Unless I’m making a cream or custard pie with a liquid type of filling I never flute the edges of the crust. For all my fruit pies I simply fold the edges of the dough in toward the center. Besides containing the juices better I find that no matter how gently you handle a fluted edge, the crust is not as tender as it is if you simply fold over the edges in a galette fashion. You are working that dough when you flute the edges and that crust will never be as tender and flaky as a non-fluted edge.

I use this recipe for all my pies. Let me explain. I made this particular pie in a 12 inch pie tin and you can see how much dough I was able to fold into the center. For a smaller pie, I will have even more dough to fold. If I’m making a pie that requires a fluted edge, I simply trim off any excess dough. If I’m making a quiche this dough works beautifully in a deep dish quiche pan, too. I wanted a single recipe that could be used for all sizes and types of pies. No need for multiple recipes. I am going to do a future blog post that will be dedicated solely to my pie crust, but I have given you all the basics in this recipe and you should be able to follow it easily, and I’m always available for any questions you may have.
I found a great sale on blackberries and decided I wanted a simple blackberry pie. I’ve made several different kinds of blackberry pies and this time I opted for a little ground cardamom and black pepper. Ever since my son first suggested doing so, I always add a little black pepper to my berry pies because it accentuates the berry flavor. You won’t be able to discern the pepper flavor when you eat the pie, but I do feel it lacks something if I don’t use it. And if you don’t like cardamom, you can just skip it or add a little cinnamon. Whatever floats your boat. I’ve found that blackberries can taste flat after they’ve been cooked, so I added plenty of lemon juice and zest to the filling, hoping it would do the trick. I seemed to have hit on the right amount for my particular berries. The grated zest of one lemon and 2 tablespoons of its juice perked up the filling nicely.
I’ve been using Instant Clear Jel * for my thickening agent in berry pies for quite awhile now and it’s definitely my favorite way to thicken a berry pie. We have a difference of opinion in my home regarding the perfect texture of the filling in a fruit pie. My son prefers a thicker filling and I prefer a looser filling. This time I made it his way and used a half cup of Instant Clear Jel ,* whereas I would like it better if I’d used one third cup. But even with the half cup, it was still a nice soft filling – not too firm and that’s what I love about Instant Clear Jel .* But if you like your fruit juices to run a little when you slice into the pie, go with the lesser amount of thickener. The only thing you need to keep in mind when using this thickener is it must be stirred into sugar before combining with the fruit. Otherwise, it will clump. But if you first stir it with the sugar you’ll have no problem.
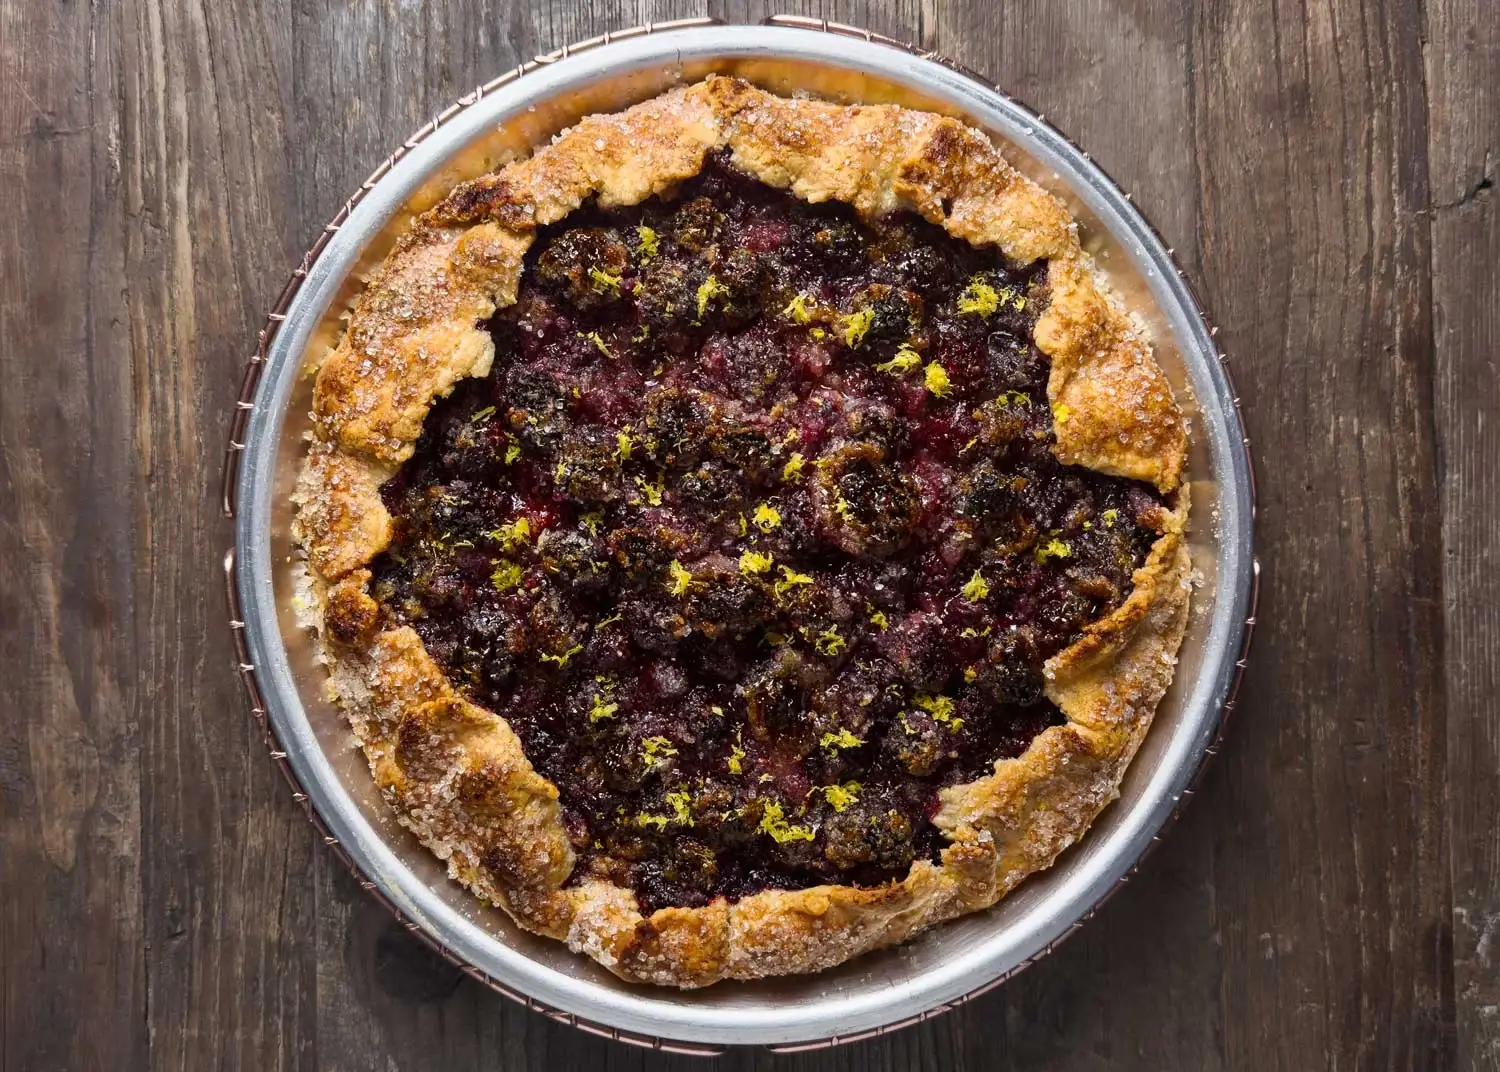
What can I say? It’s a scrumptious pie with a crisp and flaky crust. I sprinkled both the crust and the filling with White Sparkling Sugar * and it made for a sort of crunchy topping on the berries, which was very good. Oh, yeah, there is one other thing I have to mention, even though I’ve talked about it many times. It does bear repeating. Please bake your pie long enough. I’m forever perplexed by all the under baked pie crusts I see. Soft and flaccid crusts are not visually appealing, nor do they taste good. It takes time for pie crust to fully bake. Give it a good hour or so. Don’t be afraid of a truly browned crust. I don’t use an egg wash on my crusts because the egg coating browns too fast and gives the false illusion that the crust is baked. Bake it long enough and the bottom will be fully crisp, too.
As a little insurance policy I sprinkled the bottom of the crust with a little flour and sugar and I had no dreaded soggy bottom. All in all, it ended up being a very good pie. And a good pie is a true thing of beauty in my book.
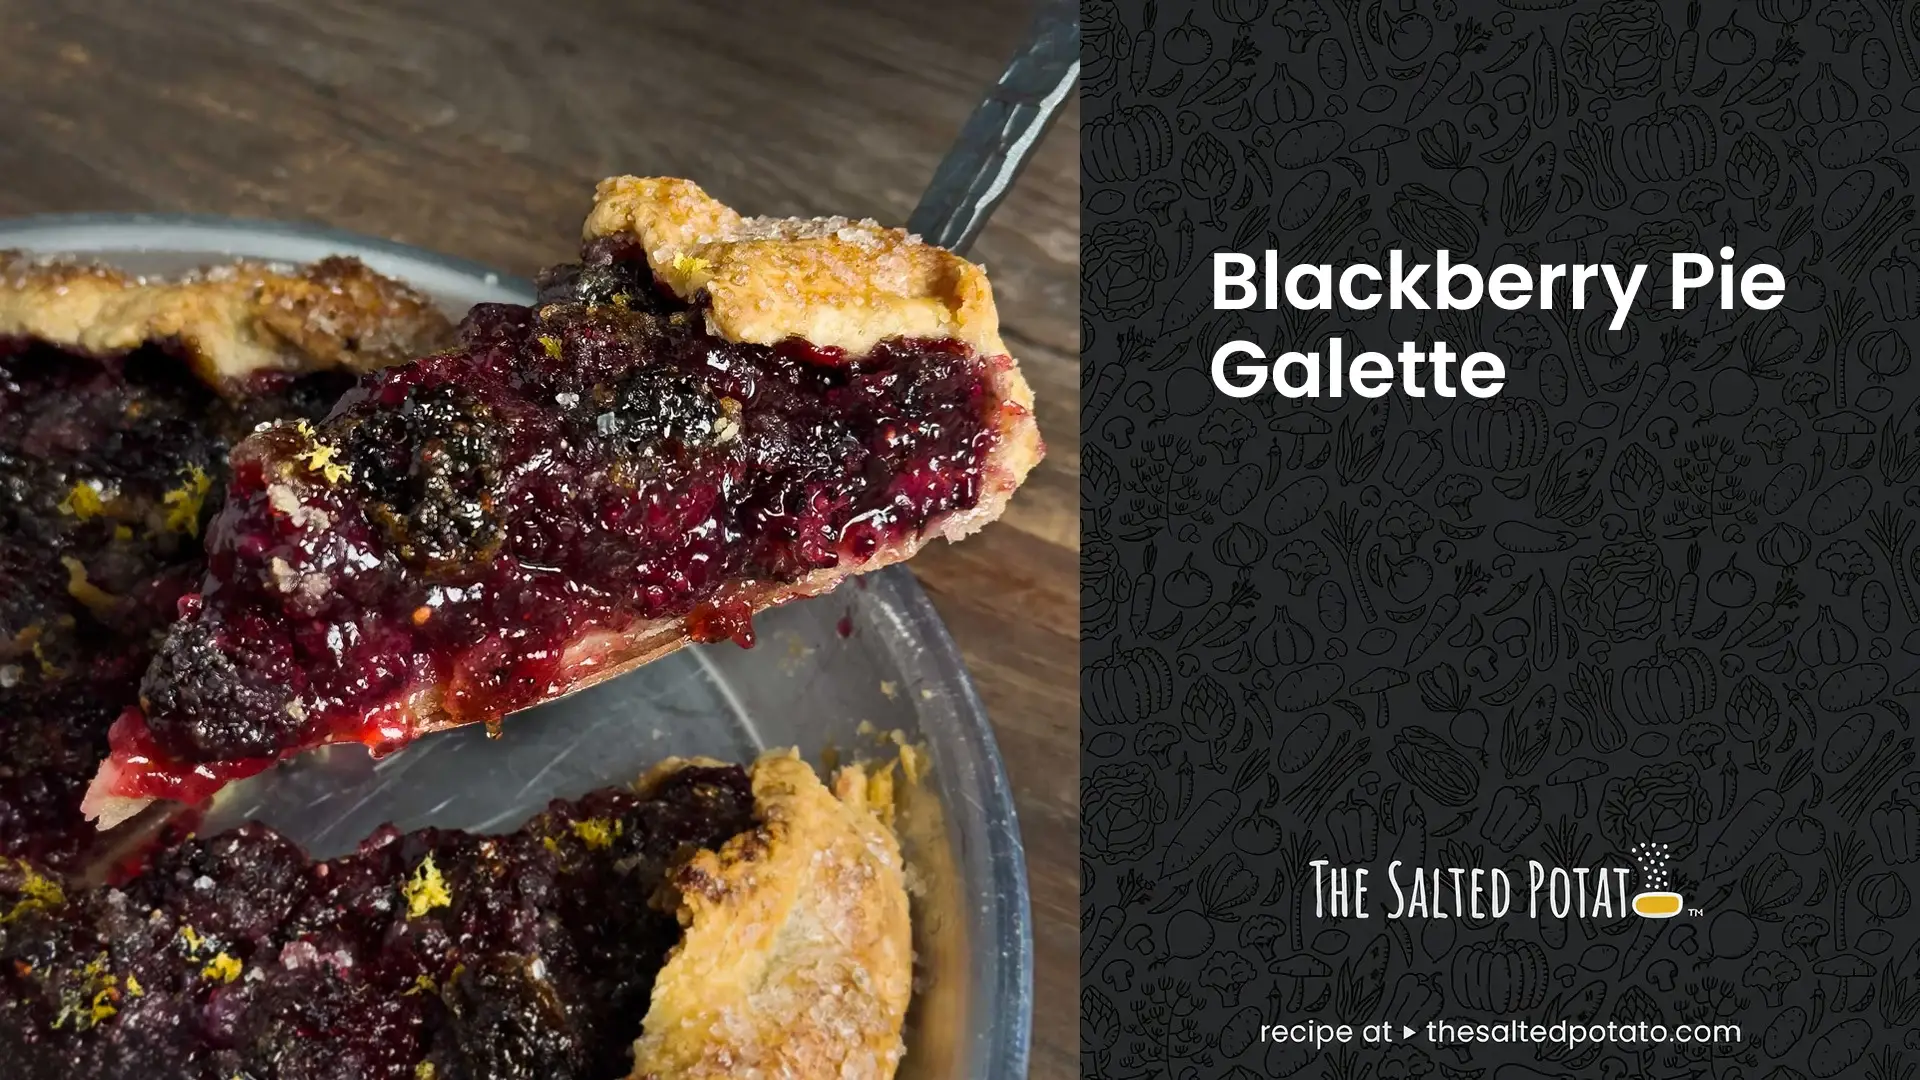

Blackberry Pie Galette
A blackberry pie made with my recipe for a very easy all butter pie crust and folded in galette fashion. I flavored it with a little cardamom, black pepper, lemon juice, and zest. An all around excellent pie! If I do say so myself.
12 inch pie
servingsKeep the screen of your device on
Ingredients
- Pie Crust
210 grams (1 1/2 cups) unbleached all purpose flour
1/4 teaspoon table salt
2 teaspoons granulated sugar
1/2 teaspoon baking powder
170 grams salted butter - 6 ounces - 1 1/2 sticks, cut into half inch cubes and frozen
1/3 cup ice water
- Blackberry Filling
300 grams (1 1/2 cups) granulated sugar
68 grams (1/2 cup) Instant Clear Jel * or use 1/3 cup if you like a looser filling
3/4 teaspoon medium grind black pepper
1 teaspoon ground cardamom
1/4 teaspoon table salt
6 - 6 ounce cartons of blackberries (1020 grams total weight)
2 tablespoons fresh lemon juice
Freshly grated lemon zest from 1 large lemon, plus more for garnish
2 tablespoons granulated sugar
1 tablespoon unbleached all purpose flour
2 tablespoons cold salted butter, cut into slivers
White Crystal Sparkling Sugar * or finishing sugar of your choice
Directions
- Pie Crust
- Place flour, salt, sugar, and baking powder in the bowl of a food processor and pulse a couple of times to combine. Add the frozen butter and pulse only until the butter is partially broken up. You want some pieces of butter to be larger than the others. Add the ice water and pulse only until the water is evenly distributed throughout the dough. Using your hands, press the dough into a cohesive mass and transfer it onto a floured work surface, patting it into a thick disc.
- Flour your rolling pin and roll the dough out into a rough 16 -17 inch circle, rotating the dough as you roll, and adding more flour to the work surface if it should start sticking. Lift and roll the dough around the rolling pin (a bench scraper is helpful) and place it into a 12 inch pie pan, allowing the edges to hang over the sides of the pie dish. Gently ease the dough into the corners of the pan, and patch any tears you may incur by pinching off a small piece of the edge of the dough, moistening it with a dab of water, placing it over the tear, and patting it in place. Transfer the crust filled pie dish to a sheet pan and chill in the refrigerator while you prepare the filling. You want the dough to chill for at least 20 minutes. If making a day ahead, after the dough has chilled and is firm, cover the pie dish with plastic wrap (being careful to not break off the overhanging edges of the dough) and let it sit overnight.
- Blackberry Filling
- Preheat the oven to 400° with a rack in the bottom third of the oven.
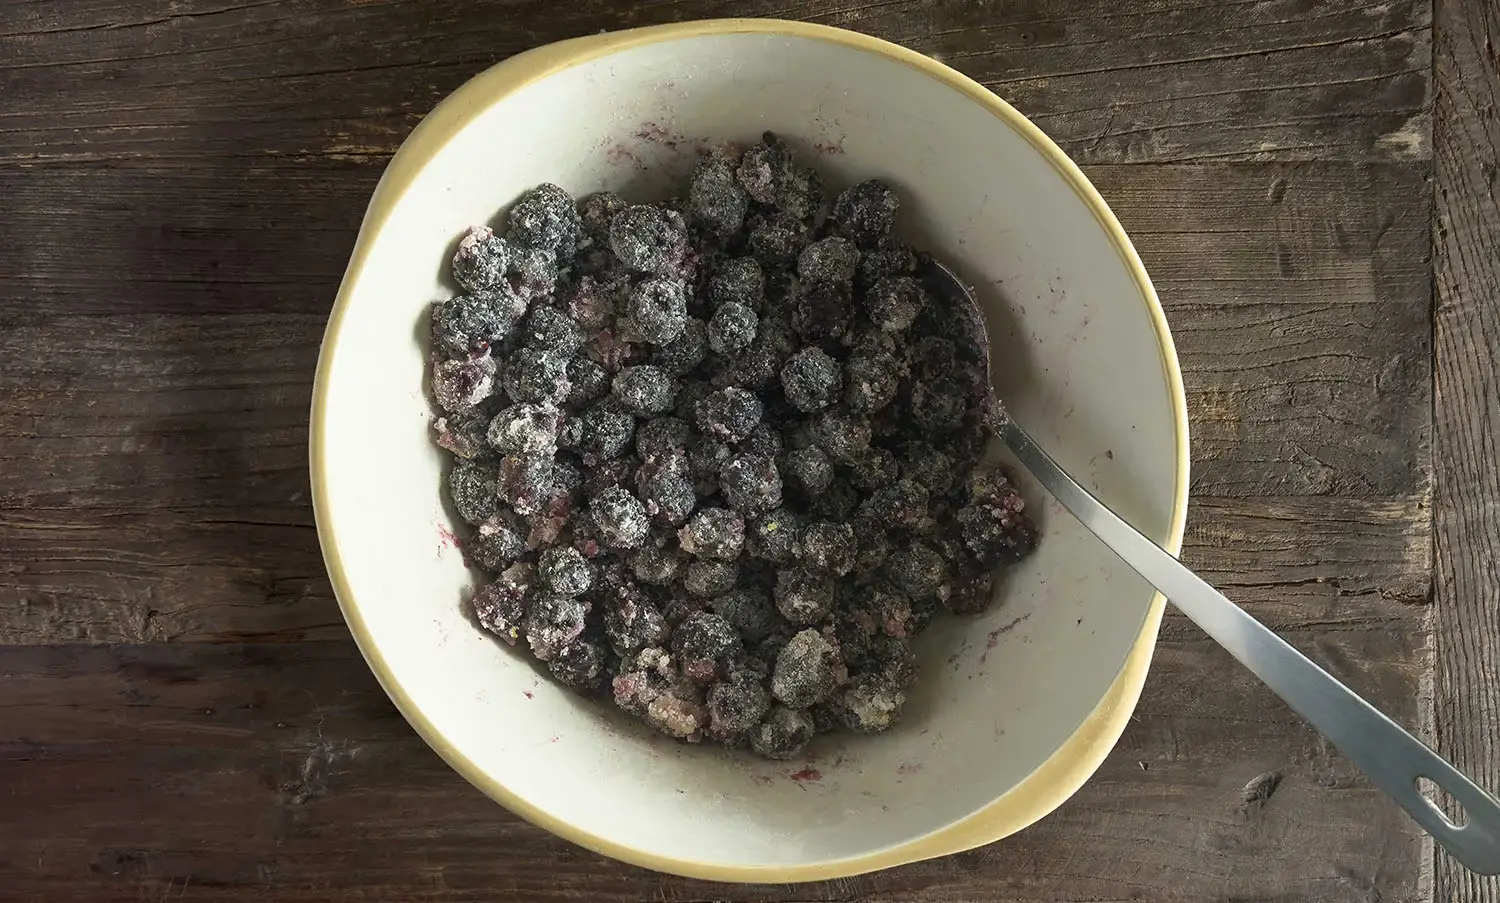
- In a large bowl, stir together 300 grams sugar, Instant Clear Jel ,* black pepper, cardamom, and salt. Stir in the blackberries, lemon juice, and lemon zest. Keep stirring until there is no dry clear jel and sugar left in the bottom of the bowl.
- In a small bowl stir together 2 tablespoons sugar and 1 tablespoon flour. Sprinkle it evenly over the bottom of the chilled crust and then spoon in all the filling. Fold the edges of the crust up and over the filling, being sure the dough has softened enough to fold easily. If it's still too firm, let it sit for a few minutes until it softens. There’s not need to be precise about this step. Just fold over the dough, pleating it as you go along. Place in the refrigerator and chill for 20 minutes.
- Remove from the refrigerator and spray the crust with a light coating of water. Sprinkle the crust and top of the filling with finishing sugar of your choice. I opted for White Crystal Sparkling Sugar * this time, but demerara , turbinado, or regular granulated sugar all work well. Place the pie in the oven and bake for 70 minutes or until the crust is fully browned and the berries are bubbling. Let completely cool before slicing. I like to sprinkle freshly grated lemon zest on top right before serving. It adds a nice fresh punch of lemon flavor. Enjoy!
2 Responses
can i used berry that I picked in the Summer and froze??
Yes, you can use those frozen berries. But do not thaw them beforehand. Just keep them in their frozen state and toss with the other ingredients. You should be good to go!